Monday, June 24, 2013

A Lady and Her Power Tools


A Lady and Her Power Tools
Round 1
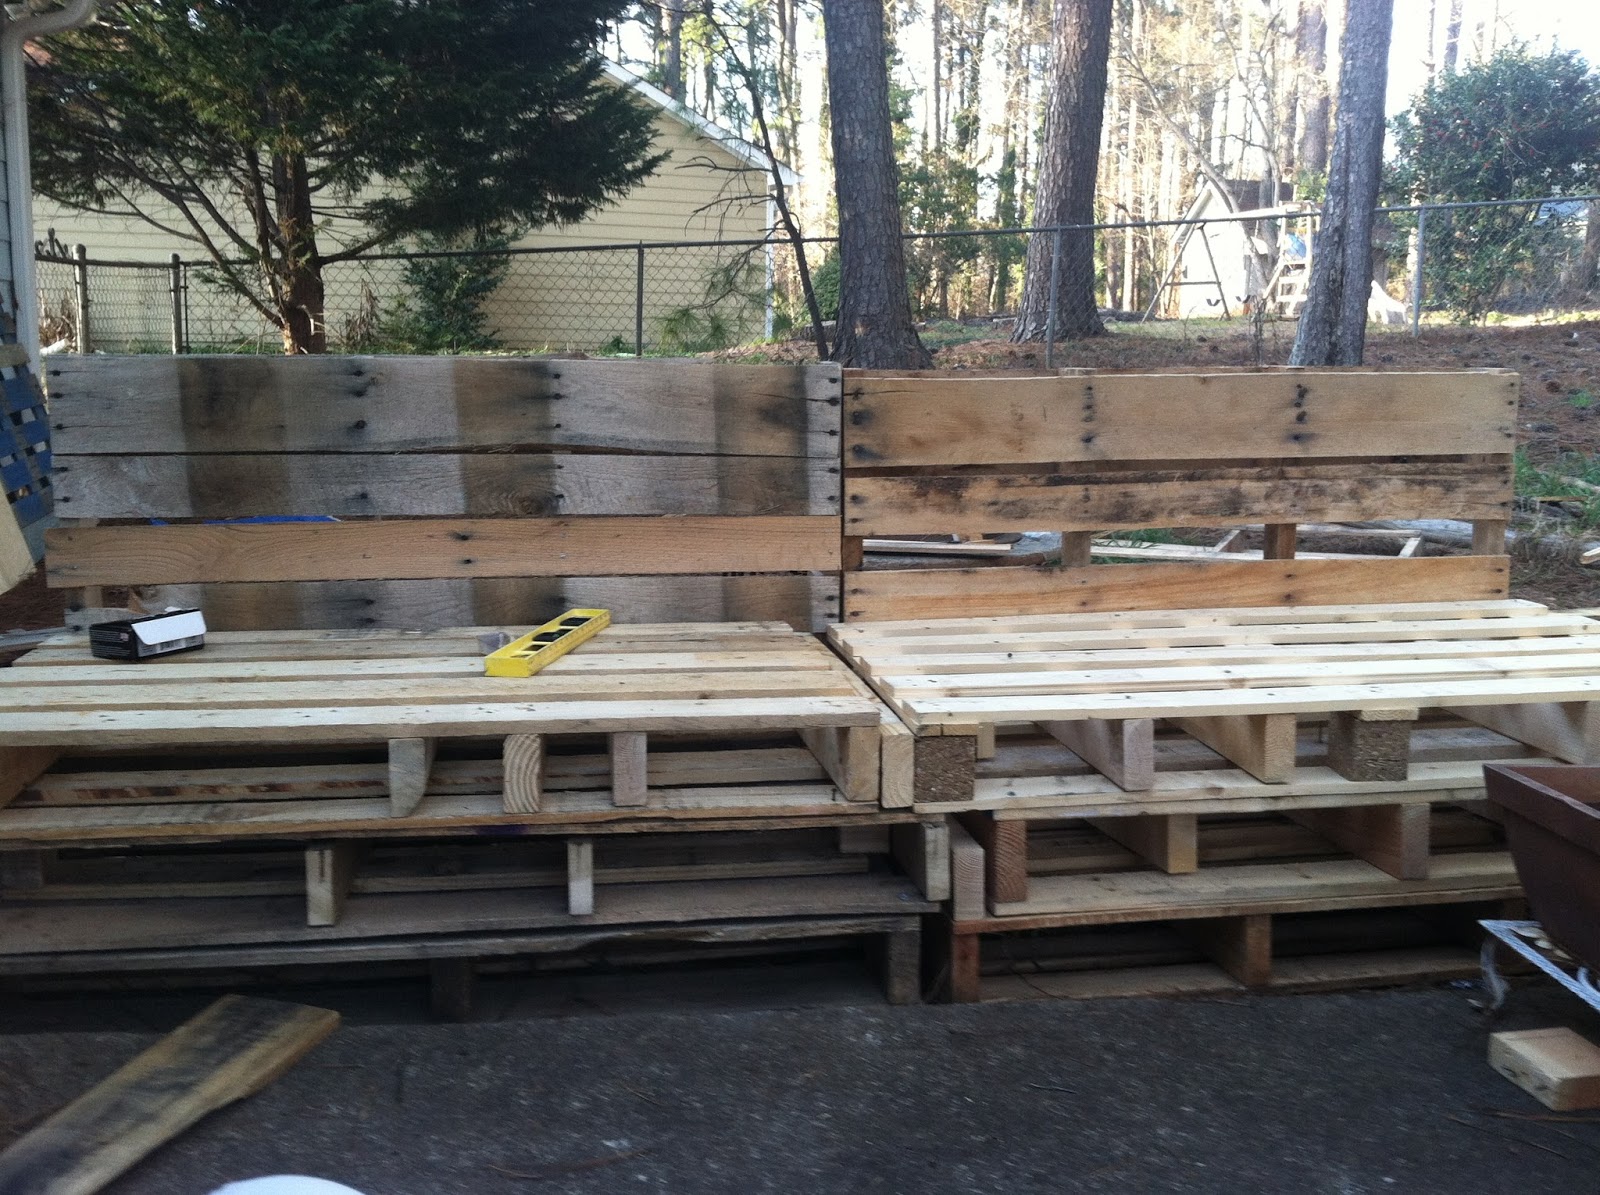
I have a couple of new projects (well, ok, 3 to be exact) in the works. One of these projects involves creating 2- 48” x 5” square pillars. It also involves me using my router to put these pieces together with another piece. Basically, I need to create a “slot” 22” x 1” x 1” on 1 side of each pillar. I know all this talk of “pieces” sounds super secretive, but I’m not ready to reveal too much about this project just yet!


Back to my router, I have not used either router ( yep, has 2, in almost 5 years. This means, of course that I don’t remember much about how to use it. I did have the manual for one; I got the manual for the other from on-line. When I used it last it was for this dresser,

I was still in Michigan and my brother, Dennis, helped me.  We were both novice at using it and it actually worked out just fine. Fast forward to June 2013, and I’m not so sure about using this router.

Thanks to the internet, I did watch some videos on Youtube and even asked my ex-husband to show me the basics’ when he was in town last month. I gave it a try, not so good. While looking for something else I stumbled across the fact that RocklerWoodworking and Hardware in Sandy Springs, Ga was having a class…”Intro to the Router” and I signed up right away. It was only 2 hrs and very reasonable, $15.

Well, last week I went to the store and found out that I’m the only person in the Metro Atlanta area who needed an intro to the router. The manager, John, explained the pros and cons of the various routers they sold. We then looked at the routers they sold and the router tables. As we talked, I explained what I was trying to do and my results. John explained that while it was possible to do what I needed with the routers I had, but it would not be easy, and what I might encounter while trying, translation: why you need a more up to date router, a plunge router.

Funny thing is , the problems that John mentioned were exactly what I was experiencing when using my router. Thank goodness I wasn’t as inept as I thought. I just needed a different type of router. Note to other DIYers, hand me down tools will work (most of the time), just not as easy, new tools often have lots of features that make the job easier. You can’t beat technology.

It turned out I knew a little more than I thought. You know what that feels like? Relief, that it wasn’t me, it was the router.

Well, truthfully, John did point out that one of my problems was due to “operator error”. Ok I admit it; I was feeding the wood post in the wrong direction. Since I was using the router that’s attached (upside down) to the small router table, I needed to feed the wood from the right to the left, not left to right. That explains it!! Funny thing is I had heard that in one of the Youtube videos, to move wood through from right to left when using a table mounted router, I just forgot.


Well, I still have to make those pillars, if I’m going to finish this project.  One thing I do know is that at this point, I’m not going to spend $500.00 for a new (admittedly better) router and table (also much better).

So, I think I’ve figured out a way to do this using a different tool, my Jigsaw.

Stay tuned for the next installment of A Lady and Her Power Tools. LOL Hey, don’t try Googling that title; you might get all kinds of weird sites!! Round 1 winner – the router.

Have you been challenged by a tool you’ve been using for a project? How did it turn out?

Let me know!!


Friday, June 21, 2013

Outdoor Sofa and Table Made from Wood Pallets


In a previous post I wrote of my interest in using wood pallets . Well, after a trip to IKEA and seeing an outdoor sofa sectional (Arholma, below ) that I loved, but wouldn’t  dare buy. I was not spending $600. I started thinking about cheap, no cheaper, like next to free, so it was back to making something out of pallets.


  So, in search of pallets I went. After looking on Craigslist and seeing pallets both for sale and free, I decided on free ( Of course). Time got away from me and as I went about my work, I came upon my first free pallets. I loaded them (3) into the back of my SUV and off I went. Of course I did go into the auto repair shop and ask if I could have them first. If you are looking for pallets, ask first.    A few days later I found four more pallets.  Now, as I look back at how easy this project wasn’t, I think any future pallet projects will have me buying pallets.  That way I can make  sure they are in great shape and are all the same size.   Trust and believe, all pallets are not created equal, even if they look lke it.


I did surf the web looking at pictures of sofas and outdoor sectionals  made from pallets. I won't show them to you , but just Google "sofas from pallets "or something similar and you'll see more than you can imagine. From these I created a design plan complete with materials list. If you plan to make anything out of pallets, do a little research first. You want to make sure you aren't using pallets that have been chemically treated. Online there are tons of great articles and project ideas for using pallets. And we won't even mention Pinterest for more ideas. But back to my project.  I made a run to Lowes for screws, nails, plywood, primer and paint and it was Game On. 


This project looked like it was a matter of just getting pallets and stacking them on top of each other, laying down a piece of  plywood , adding a back and you’re done. Uh, no, not so fast.
My son Brandon and I started out with specific  measurements for this piece but, soon changed them to accommodate the varied sizes of our pallets.  After finding 2 pallets that were the same size to act as the bottom layer, we then had to cut and make subsequent pallets meet those dimensions.


             There's nothing cute about taking apart wood pallets and I have the picture to prove it!

  He primarily cut the basic structural pieces and cannibalized pallets as needed.  These things are not made to come apart easily. If you've ever tried to pull a twisted nail out, yea, no it is not easy.  Before we finished the project he  had to move out of state for school. He did leave me with the basic structure complete. I  spent  time reinforcing the layers of pallets. They are stacked 3 high to give me a height of approx. 16”. Some of the pallets were reinforced  with 2x4s every 12” while others were not.   Wanting to use as much of the pallet as possible I had to find a way to complete the cannibalization of the pallets, by someone if very little upper body strength, that would be me! I ended up using a cut off wheel on my Dremel and cutting off the heads of nails after prying and pulling them up just a little.  As I wanted to be sure this piece would support  at least 3-4 people sitting on it, I added additional  2x4’s as support where needed.


 After the base was complete, I screwed down a sheet  of plywood  on top of the pallets. Based on my construction plans I did not have to do a lot of sanding on this piece.  More cannibalizing of pallets gave me “slats” to put across the outside back of the sofa. Due to rain and  the extreme pollen count  I could not prime and paint right away. So I moved on to the cushions.


If you have every bought foam for a project you know how expensive it is And that's why cushions are so expensive. 
 I hit the jackpot when it came to making cushions for this sofa.  I found precut  25’ square foam cushions that are 5” in height  for $5 each , so I bought 3!!.  I ran into Old Time Pottery and discovered they were having a sale on their fabric. I found a piece that I thought was an outdoor fabric that I liked. I took a minute to research the manufacturer and the design and discovered that it was considered a premium outdoor fabric that retailed for $34.99. Score!! It was on sale for $3.96 per yard. The piece ( at OTP you have to buy the whole precut piece) was 5 yrds. At the time I didn’t know how much fabric I’d need but figured if that wasn’t enough I could add a complimentary solid fabric on the back of the cushions. 


I added piping to the cushions in a solid color . I  admit I was too lazy to cut bias strips,  so I bought  6- 3yd packages of double wide bias tape (on sale for 40% off). That’s about $47.00 for 3 cushions. Most of the cushions I priced at stores were costing $29-39 each and they weren’t as thick.  I am so happy with these cushions.  Now, as always, I was looking for a way to make the cushions for the back of the sofa  as cheaply as possible, here’s what I did. I was going to buy new bed pillows for our beds so the old pillows were used in the back pillows outside. They are the perfect height and I’m recycling, etc.!!


After I finished the sofa, ( well there is a small place on one side that needs a couple of boards, but...)I decided to make a table. A couple of weeks passed and I was looking for pallets to buy for about $2.00 each. I did find some but knew I couldn't go pick them up myself. You see, in my excitement to get the first set of plalets I lifted too much weight and tore an abdominal muscle.  That and the pollen really slowed this project way down.  I again looked on Craigslist and found a local business that had pallets out back, free for the taking. When Brandon came back into town to help me clean carpets and get ready for his sister's graduation party, we went pallet hunting.  He wasn't nearly as excited about it as I was.

I found a pallet that had a solid plywood top and 2 others that required only one cut each and , I had a table.  I wanted to be able to move the table, so I bought 4 swivel casters ( only 1 is a locking caster).  The total cost of the table was less than $20.00 ( calculating the cost of the screws, nail, casters, primer and paint. I love that I can travel 3 miles in opposite directions and get to  either Lowes or Home Depot!!


After nailing them together, priming and painting ( Cameron, son # 2 was home for the graduation so this was his part) was done.


Trey loves to follow me and check out what I'm doing.


 He also like to lounge on my new outdoor sofa.

This project was a lot harder than it had to be. I now know just how carefully to measure amd size up pallets for future projects. Also, it is a good idea to take the time and paint everything before you assemble it. I have some places that I just couldn't reach after it was assembled. I also used screws so that when I move, I can remove a few key screws and move this in 2 easy peices. Yea, I know I said easy, I meant for the movers, not easy for me!!


You also want to be flexible between what you envisioned and what you end up with. This sofa ended up with an attached end table. There was 17" left that wasn't covered by cushions and instead of making a little dinky cushion, I crafted a table top for dinks, etc. and attached it to the end. I love it.

All in all, I am out of less than $70 for the sofa ( that includes, screws, nails, a sheet of 5.8" plywood, paint and primer  but without the cushions). I love this project , it taught me a lot and now I have the perfect place to kick back and enjoy a Strawberry Vodka Lemonade in the evening.

What do you think? Do you have a project that you want to make using pallets? Let me know about it and share pics.


Wednesday, June 19, 2013

Faux Leather Top Table Makeover


I bought this very common looking table at a local Goodwill to use as a display piece for my Christmas village. 


After Christmas, the table was a little too big for me to move and it really wasn't in the way, so… Fast forward a year and finally, this winter I knew it was time to do something about the table.  It had been repaired when I bought it as one leg wasn't secure. The down side of this was that whoever repaired it didn't have a clue how to do so without screwing a metal strip to the outside of wobbly leg. It wasn't pretty at all. Ugh, I actually forgot to take a picture of it.  After removing the top, I turned the base upside down and began to repair it. A bolt that was used to secure the leg was stripped so I simply bought a slightly bigger bolt as hole was now too big and it was fixed.This installed with a little glue thrown in worked perfectly. Or so I thought...


Here you can see where the leg split and I had to use wood filler.
 When I turned the base right side up, I discovered that the larger bolt had caused the wooden leg to split. I used wood filler on the crack then sanded it. Next, I set to work on the table top. I had a bolt of vinyl that looked like a faux animal skin. Don't ask me what animal, it just looks like some kind of animal skin! Doesn't it?


 I had purchased this for another project but that desk didn't make it on the moving truck9that,means I've had this vinyl for at least 2 years) so I decided to use it on this table. I used spray adhesive on the top and smoothed the vinyl onto the table top. I then turned it over and stapled the vinyl around the bottom of the table top.  I wanted to add something else to the top to give it a bit of flair. I decided on nail heads. I found some for a great price online.
Next, I had to figure out how to get the nail heads on and keep them spaced properly. I finally designed a “spacing tool” by cutting out notches in a 2” strip of plastic canvas (often used for cross stitching)


 It was very flexible  and worked well on the edge of the round table.
This was a very challenging task. I discovered how difficult it was to nail the tacks in straight. I finally had to go easy on myself and realize that it was my first attempt at this and it would have the look of hand worked tacks, not something put in by a machine.
Pics


Finally finshing up the top I moved to painting the base. I wanted a color that was as close to the color of the vinyl. The base was primed, painted and seasled with a satin finish..
Here it is


I love how this project looked in the end.  The thing is, I really don’t have room for it so I would like to sell this table. It will be going into my Etsy store soon.
Let me know what you think of this little lady, she's all dressed up and looking for somewhere to go!!


Sunday, June 9, 2013

Graduation Party in Review and How to Do!!

Well, hi everyone. I'm finally done with graduation fun. I have to admit the end product, a great graduation party for my daughter, was worth it. It was a great success, I can't think of one thing I would have done differently.

As all mothers know, time flies when you are raising children.  One day, they are learning to talk, to walk, and before you know it, they are learning to read.Then you look up one day and they are graduating from high school, and you wonder where did the time go.

A couple of weeks ago, I sat at the high school graduation of my baby girl, Cassie, and all of those thoughts about time flying, etc. flew through my head. And then it was on to the party!! Warning, Warning, this post has lots of pictures and some quick how to info.

I shared one of my party projects in an earlier post here. This banner had lots of elements and looked great.


One of the earliest projects was creating the invitation. Using a ream of pink card stock that I got for free a couple of years ago ,I created her invitation and other paper goods. I got the chevron pattern online (free!!) I found her school's logo on Google images and added that to the invite. To give it a little something extra, I colored in the V with a gold metallic Sharpie. It came out great. Hot pink envelopea from Michaels.


Here's a pic of all of the pink paper goods. Invitation, party favor, water bottle label, flags on skewers.


No, her school colors aren't pink, black and white. She just likes pink (so do I). Her school colors are black and gold. We used both colors as accent colors at the party.


The labels for her bottles of water were so easy. Using the same chevron pattern, I created labels for the bottles. I made sure the labels were 1/8 th " narrower than my shipping tape. By centering the label on a strip of shipping tape that was 1" longer than the label, I was able to attach and seal the label in one step. Since these labels were printed on an inkjet printer, there was a fear that they would "bleed" ink when they got wet. The shipping tape worked as a great laminate.


Wanting to "dress up" the napkins, I found a rubber stamp at Michaels ($1.50). Using a permanent ink pad my 9 year old cousin stamped a C in the center of each napkin. Cassie then wrapped the plactic forks, etc in a napkin and tied them. Off they went to a cute pick basket.


I don't know about you, but I like party favors. I love how creative and unique party favors can be.  I think it says something about the host/hostess and what they think of their guests. Since Cassie wants to be a pastry chef,  a great friend, Shelly, suggested we to use that as the basis for her party favor. Cassie had recently won a contest with her Sweet Potatoe Cookies so we thought we'd share her recipe. Using our pink paper and chevron pattern, I created a recipe card,embellished with a ribbon. On the back, Cassie used a stamp that she found at Michaels ($1.50), that says, " You are special to me" she signed them, and we laminated them  to protect against spills.


I used scrapbook paper in a pink and white chevron pattern to make mini flags that were glued to the Taffy Skewers we made and were stuck in the cupcakes. The other side says "class of 2013".


Cassie's major request for this party was to have a pink and white candy buffet. After looking at lots of pictures on Pinterest and at Candy Warehouse, I knew I wanted to use glass containers for the candy. I also knew I didn't want to spend a lot on glassware. I decided that $2.00 was the max I would spend on any container. So, off to my favorite place, the Goodwill. I found these bowls on separate visits for  a total of  $2.50.


I glued candletsicks from my stash in the garage and they were perfect.


For this beauty I did spend way more than $2.00. But she was so worth it. Can you believe she was only $14.99 at Homegoods. Can you beat Homegoods for glassware? I don't think so. It was so pretty filled with pink and white marshmallows. And she will look great with diffent items that I will change with each season.


These are the containers that I collected or already had.  I decided to dye the rice that I used to hold the Taffy Skewers and Twisted suckers in place. Here's a pic of  our pink and white Candy Buffet.


The next step was decorating the backyard. I found the inspiration for this idea on Pinterest as well. The tip about putting a marble of glass bead into the balloon worked great. They hung down as if they were big pieces of pink and white fruit. I only wish that I had more trees that weren't pine trees so I could have hung more. This was so cute.


A last minute idea was to make a menu board. I just printed it up , took it to Kinko's and had it         
 enlarged ($4.00). I then covered the mat with wrapping paper and scrapbook paper. Next, I inserted the menu right over the original art work, done deal. The framed art work awas a $3.00 thrift store find that was hanging out in my garage.

The "big candy" decorations are pool noodles that I hot glued into circles. I had some loose beads that I used to cover excess glue. Wrapped the and , done deal. The smaller ones are actually one noodle that I cut in half lengthwise.
 
Touches of gold were picked up in gold metallic tissue ppom-poms. The cupscake stand was also gold and black,. Sorry, I got so busy that I don't have a pic of the marble cupcakes that Cassie made. She even created her own Raspberyy Cream Cheese Frosting receipe for them. Two words, Yum, yum.

There are tons more  pics but, I thik you get the idea. We had a great time. I highly recommend to anyone planning a special party that you cruise through Pinterest several times. There are some truly creative people out there and they are willing to share. Here's our final project:


Our final project was to make and send out Thank You notes. This time I didn't use the pink card stock , but I did use it and the chevron pattern to add to our cards. The cards were purchased at Michaels, I have to tell you ,the stuff they have in the $1.50 bins near the front of the store is great .